


This is the only room in the house that we didn't paint and that remains to be the case. I guess the color is inoffensive enough, and the wood trim abundant enough, that I can't muster up the energy to bathe this room in another color. But that's about all that stayed.

New drapes (a fun jungle-y print from Hancock Fabrics)

Cut paper artwork from a very talented old coworker, which just happens to go perfectly with the George of the Jungle drapes.

The thrift store chair, relocated from the basement but still donning that nasty gold cushion. Eek.

The dining room buffet, now repurposed as a modest dresser with the mirror from the front hall above.
And let's discuss the bed for a sec, because I won't lie, I dig it. This bed has made the rounds with us for the last few years and while perfectly functional, I was growing tired of the brushed nickel bars. Serendipitously, a major sale at the HF gave me a ton of this great asparagus green stripe that's actually an outdoor fabric (read: tres durable). A slipcover could be had for just a few clams and this bed would then have a whole new look.

Before

After

I left the inside panel a tad shorter to accomodate the rail connection.

The top was done in the same way you would make a square bag bottom, and the stripe was the exact width of the rail.
As for the bed's home in the eave, well, there really isn't any better place for it. No joke, furniture placement in the house is a challenge but I'm pleased with this solution. The bedside curtain panels were hung using this set from Ikea; I wanted everything to align with the headboard and for the curtain hanging hardware to be invisible.


Charlotte says, "Could you turn that camera off so I can jump on the bed now?"
*Don't forget to vote on the June party dress up at the top!*

This scene is the standard arrangement: Charlotte at the front door keeping watch, Hudgins on the front hall landing, ready to bark at a moment's notice. He undoubtedly feels like the king up there. Matt and I suspect the real reason he stays up a few steps is because he's willing to have Charlotte take the fall for him should an evil intruder actually cross the threshold. Such a knight in black fur, he is.
Anyway, back to the extreme home makeover that was going on behind this scene. I'm prepping the guest room for our April visitors (yippee!) so as soon as the final pieces have been put back in place I'll share the pictures. Until then, the list of moves:
Rugs:
master bedroom --> living room
living room --> dining room
guest bedroom --> storage
Artwork:
living room --> stairway
guest bedroom -->master bedroom
master bedroom --> living room
Furniture:
guest bedroom --> basement
table in storage --> dining room
dining room --> guest room
basement --> guest room
Mirrors and lighting:
front hall --> guest room
guest room --> master bedroom
front hall --> dining room
dining room --> basement
Drapes:
guest room --> living room
old dining room --> master bedroom
If you followed all of that, you probably detected that the guest room was practically stripped bare. New drapes, recovering the thrift-store chair originally in the basement, and a twist on an upholstered headboard are all in the works. I took the plunge and got an entry-level serger a few weeks back and let me just say it has been a star player in this makeover! To those shopping around, I'm quite pleased with this little baby by Janome.
Anyone else doing some spring cleaning/home sprucing with their sewing machines?
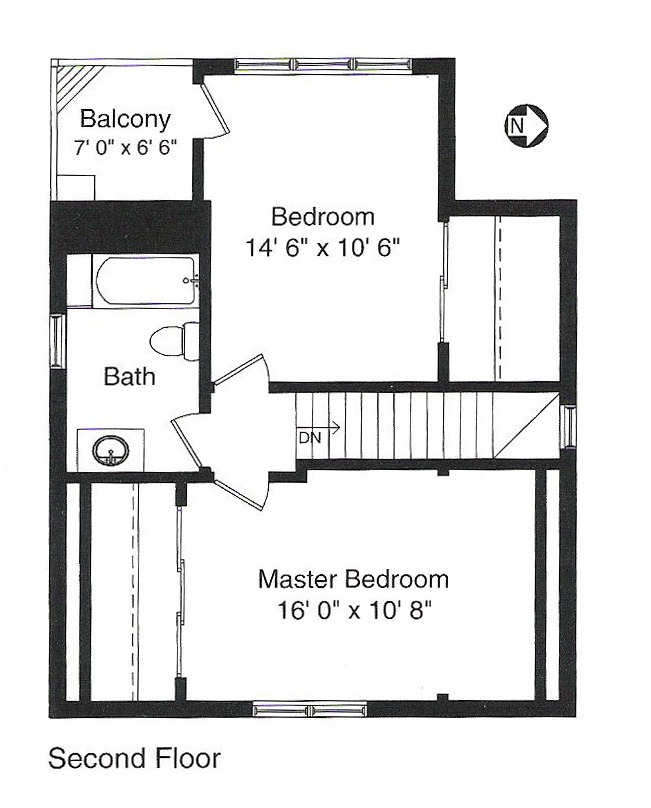
Have a look at some before pictures that we snapped the day we closed on the house. See if you can guess who used to live in the room we now use as the master bedroom. Three clues:


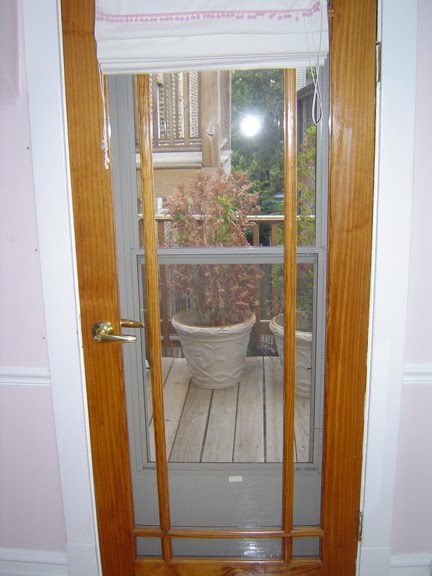

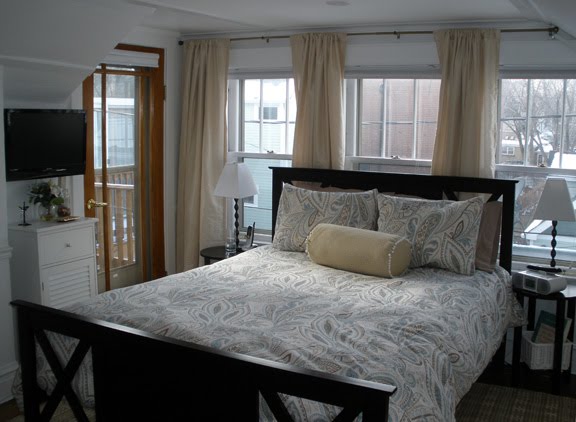

When we tore up the old bathroom we were left with a nasty patch of about 4 layers of concrete laid over who knows how many years. Before new tile could go down this ugliness needed to be leveled out.

Ah! So much better. The self-leveling concrete just oozes its way into every little crevice until you're left with one silky smooth surface.

And once all has settled into place, just slap some tile down and call yourself "floored" by the ease of the project.

I'll take some cheesecloth to the new tiles tonight to clean up the lingering grout haze. Unlike in the bathroom, I used pre-mixed grout and mortar with this floor. That stuff is about 10x more expensive than the mix it yourself kind but seriously, the convenience factor and general tidiness of it all won me over in no time.
Where was Matt in all of this? He was muttering four letter words from the family room while he attempted to set up his fancy schmancy new remote control. Ok, ok, to be fair he helped mix and pour the leveler and did all of the wet saw tile cutting because my constantly frigid hands would have fallen off had I been the cutter.
But back to the remote. I know I shouldn't be laughing about this (still) nor should I be posting about it because apparently a few of his coworkers read this blog and this most certainly could call his dude skills into question. However, having just seen an episode of Modern Family in which Phil pisses off his wife by bringing in some uber-complicated remote control, I am endlessly amused by this turning of the technology tables. Hot-shot remote be damned! Just typing this is making me smirk.

image from www.cepro.com

After you cut out the fabric, take your zipper and place it face down in the middle of the bottom edge of one fabric piece. Since my pillow is 18" wide I'm using a 14" long zipper. This will allow for plenty of space along the side seams. Before anyone runs off I promise that zippers aren't as scary as they seem.

Open the zipper and pin it to the fabric, then sew along the bottom edge using a zipper foot if you have it. Here again, the regular model will work just fine too.

Since your presser foot won't go over the actual zipper you'll need to take the material off the machine, zip up the zipper, then finish the bottom section of the tape just as you did the top. Hooray! One half in!

Now you'll need to get the other piece of fabric and pin it to the other side of the zipper tape. Place the second fabric square on top of the first with right sides facing each other. Pin the bottom corners together (temporarily to hold things in place) and then pin the unsewn side of the zipper tape to the second fabric square.

This will probably appear backwards and that's good! When all is said and done the zipper tape will be folded beneath the fabric.

Take your pinned fabric back to the machine and be careful to place the fabric pieces smoothly so your needle will only go through one layer.


Stitch along the edge just as you did the first time. Now stand up and high five yourself! The worst is over and it wasn't even that bad, was it?

With the zipper in you can now sew up the sides of the pillow. A 5/8" seam is standard. Don't forget to open the zipper before you sew otherwise you won't be able to turn it rightside out!

I think it's a good idea to do a little extra stitching at the corners for reinforcement. Also, you may want to clip your corners so they'll be sharp and not chunky from extra material.

Once everything is stitched turn the pillow rightside out and fill with your form or filler. Zip it up and admire your handiwork!

How great is this? A new pillow with a removable cover, perfect for keeping things clean and allowing you to change up your decor when you get bored or when the seasons turn.

And, what's more, if you can put a zipper in a pillow you can put it in just about anything. Beginners, I hope this was helpful! And as for the pros, how did you get your start in sewing?

Wild, right? (haha) However, the blue in mine is a few shades brighter. I prefer this semi-washed out look. So question of the day: how does one fade home dec fabric in a careful and controlled way without simply putting it in the sun and waiting for weeks?
image via Isuwannee.com via The Newlywed Diaries

