Showing posts with label made it monday. Show all posts

4.19.2010

McCall 5556

Now, tunic time. Although I may need to call it a popover.


This pattern is an out of print number by McCall and I honestly cannot remember when I bought it. I know for certain, however, that it was generally in style when I picked it up, cycled out of style, and now could pass for being semi-fashionable if paired with other articles correctly. Hopefully, my version of View B is appearing more in than out of style. The description might need to change, though, since I found a close match at JCrew but it's called a popover instead of a tunic. Isn't that a bakery good, not a piece of attire? Hmmm.

Pattern Description: If the best part of this pattern is the nicely finished product then the worst part is the time it takes to get there. The pattern envelope says "4 looks, 1 easy pattern." Let me clarify what they mean by "easy." Easy, in this case, means straight seams, minimal darts, little to no fit issues (it's a tunic, y'all), and suggested material that presses well. Easy is not a synonym for "fast," "so straigtforward you can use your instructions as a coffee cup coaster," "start this on a weeknight and plan to wear it tomorrow," or "no need to care about finishing details because it will look professional regardless of what you do." You'll have to invest some time in this one if you want sharp points on the bandings, evenly spaced button loops, and crisp top stitching. All in, I think this was 12 hours of production time.


Instructions: Not bad. In fact, if you can force yourself to really read them, pay attention, and not say, "Whatevs, I know how to sew a shirt, forget this!" then you'll be rewarded with a well-constructed item. The neck, hem, and arm banding are sewn backwards and if you don't pay attention I'm going to bet you'll think it's a mistake in the instructions rather than an intentional approach. Or maybe that's just me....
The pattern does call for a fair amount of understitching. I only did this on the neck band facing, reason being that the other areas that call for understitching can be difficult to get to fully. Personally, I think semi-finished understitching is less desirable than no understitching at all.
Once you've flipped all the bandings into place you then edgestitch them. I thought this helped
the shirt look a little less home-sewn.


Fabric: The fabric is your basic striped shirting in an ambiguous charcoal gray/navy shade. While the pattern says you can use all kinds of material I'd suggest sticking with the lightweight wovens. There's a lot of folding and flipping going on with this top and thick material could make things sloppy.


Fit: As a tunic/popover/whatever-it-is I don't believe you should be looking to this to show off one's figure. Thus, I did nothing but cut on the line marked "10." I feared this could result in a look of me wearing one of Dad's old shirts for art class. My first fitting came after the last stitch was sewn and mercifully, I was pretty happy with the results.

Finishing: Do you see the serged seam allowances? I love, love, love being able to do this! I particularly enjoy being able to finish off the armsyces with the serger. It cuts down on bulk and looks so much more professional than my past approach of using pinking shears.


Cost:
Fabric = $4.50
Pattern = $1.00 Never pay full price for them!
11 buttons = $13 (!). They're small knots - j'adore, even if it was highway robbery.
Interfacing = $2.00
Total = $20.50

Verdict: I like it. My model shot highlights how thin the fabric is and I'll likely sport a long tank top beneath to hide that shirt-to-jean transition. I suspect I'll get some good use out of it this summer since it's made from a classic fabric and the shape is pretty versatile. It's lightweight for day and the 3/4 sleeves will keep my always-freezing self comfortable at night. And, I'm thinking beach cover-up for sure.

Has anyone else made this shirt (and given half a day to do it?)

4.12.2010

Made It Monday: Guest Room

Howdy! It was an awesome weekend in this part of the country and hopefully it was just as nice in yours. Matt was off in Vegas doing the bachelor party thing and that left me a single lady for the weekend. Activities included dinner with friends, brunch with friends, two - yes, two! - trips to the dog park, cleaning, sewing, a long run, and even some shopping. Good for the soul, I tell you. Oh, and our bloomin' tulips topped things off nicely!

So now I've got some pics to share of the guest room, which I mentioned previously as the room stripped bare while I spruced up the rest of the joint last weekend, hiding from the workroom project. Per my usual, some befores (the first is the day we closed and the second was taken during the basement reno, when the guest room was a depository for relocated basement junk).


This is the only room in the house that we didn't paint and that remains to be the case. I guess the color is inoffensive enough, and the wood trim abundant enough, that I can't muster up the energy to bathe this room in another color. But that's about all that stayed.


New drapes (a fun jungle-y print from Hancock Fabrics)

Cut paper artwork from a very talented old coworker, which just happens to go perfectly with the George of the Jungle drapes.

The thrift store chair, relocated from the basement but still donning that nasty gold cushion. Eek.

The dining room buffet, now repurposed as a modest dresser with the mirror from the front hall above.

And let's discuss the bed for a sec, because I won't lie, I dig it. This bed has made the rounds with us for the last few years and while perfectly functional, I was growing tired of the brushed nickel bars. Serendipitously, a major sale at the HF gave me a ton of this great asparagus green stripe that's actually an outdoor fabric (read: tres durable). A slipcover could be had for just a few clams and this bed would then have a whole new look.

Before

After

I left the inside panel a tad shorter to accomodate the rail connection.

The top was done in the same way you would make a square bag bottom, and the stripe was the exact width of the rail.

As for the bed's home in the eave, well, there really isn't any better place for it. No joke, furniture placement in the house is a challenge but I'm pleased with this solution. The bedside curtain panels were hung using this set from Ikea; I wanted everything to align with the headboard and for the curtain hanging hardware to be invisible.

An added bonus of this set-up is the additional storage space created behind the bed and curtains. Nothing's back there yet but I doubt that will last!

Some parting notes from the guest room makeover:
  • I think this pattern from McCall is swell (if you can look past the mock-up, which is fugly). It's got all you need for creating bedroom/home dec basics and the directions are crazy easy to follow. I've used it for all 5 sets of drapes I've made in the house. I'll probably use it to make some more interesting pillow shams should the mood strike.
  • The bed project was also crazy easy. Really, it's a giant bag that you just size to fit your headboard. If you've got a metal frame bed that you've grown tired of, I suggest hitting up the fabric clearance rack. Heck, when you get tired of it, just take the covers off! Cake!
  • I was always skeptical of those home decorating shows where the host would shop in the frightened subject's home in order to make over a room. It turns out it works, or at least I'm convinced now that it's a viable option when the change itch strikes.

Charlotte says, "Could you turn that camera off so I can jump on the bed now?"

*Don't forget to vote on the June party dress up at the top!*

4.05.2010

Made It Monday: Workroom

G'morning.

Fresh off lots of chocolate bunnies and decorated eggs, here we are again on Monday. The spring cleaning bug bit hard over the weekend and I think our house was literally turned upside down with all of the reorganizing that went on. But the room that is getting the blogging love today is our new man cave. This room, the utility/workroom, oozes testosterone. For awhile it was also oozing obscenities (on the day that Jesus has risen! Poor form for us, indeed.) but more on that later. A recap of the floor plans, before and after:


Before After

Once construction on the basement ceased we were a little worn out on the home-improvement front. This is Matt's corner of the house and out of respect for that claim I originally said he could build the room out whenever he wanted to, at his own pace., and I would temper my need to see projects completed. Here's where I admit, to Matt's pleasure, that I am definitely the slave driver of the house. The workroom idled as the "piles o' junk" room for about a month.

Meanwhile, the rest of our house started looking like we were staging an estate sale with things all over the place but not in their places. I couldn't take it anymore. The "honey-do" list came back with a vengeance, the workroom was at the top, and the deadline was last night. Matt came through, big time. Here's the proof:


Before - I couldn't step back any further to capture more in the picture


After: Wide open space!


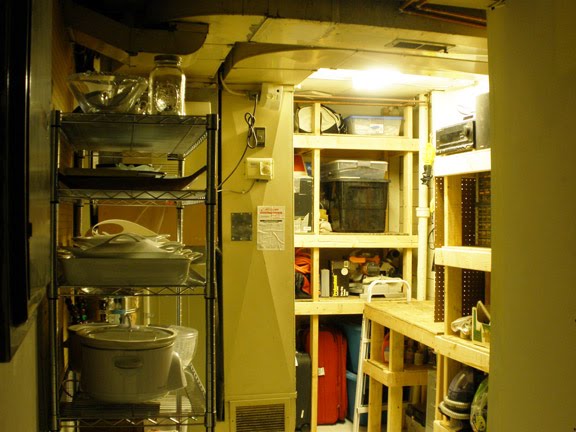
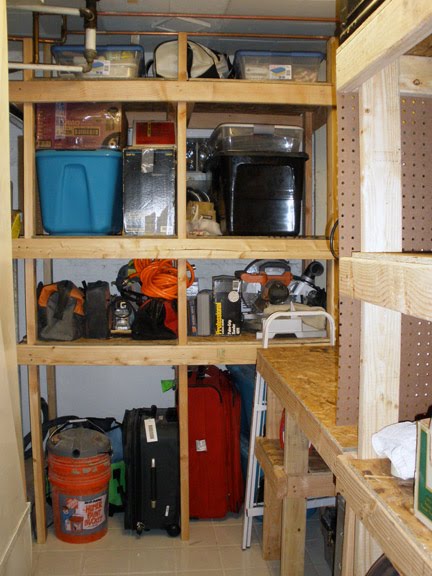
Big, deep shelves to hold all the fun new tools, lots of plastic bins, suitcases, and odds and ends.


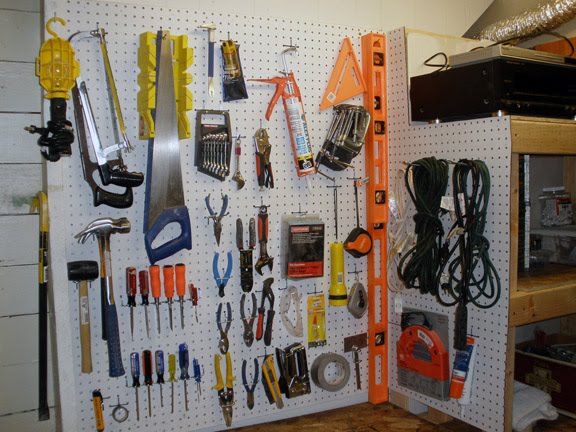
The loveliest peg board I've ever seen, again, all thanks to Matt.


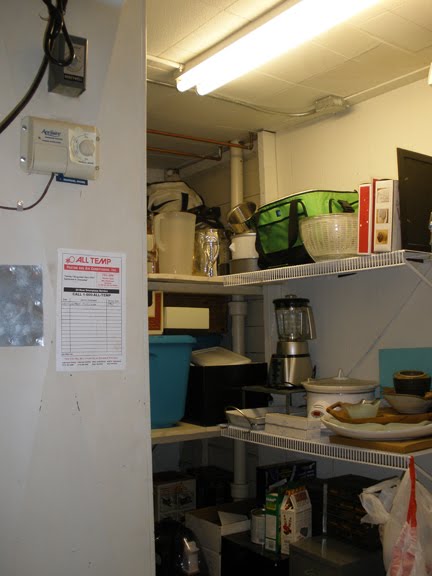
And the treasured "catering closet," which alleviated our overstuffed kitchen and finally gave us a chance to put away oodles of wedding gifts.


Back to the obscenities part. From the get-go Matt and I did not see eye-to-eye on this project. He's wanted to build shelves and a workbench from 2x4s and plywood all along. I thought some shelving units from Ikea would work just as well and would probably be installed in half the time. Costs for both options were identical. We went back and forth on this for the better part of last week and ultimately the hour long drive to the Big Blue Box proved to be too much. Home Despot lumber won out.

I'm embarrassed to say that I was a brat at times because I thought this project was unnecessarily complicated, all in the name of manliness. But Matt built an awesome work room, his own way, and most importantly he loves it. And we both learned that the only type of project that causes friction between us is the project that involves construction. Design? My territory. Cooking? His. Travel arrangements? Mine. Gardening? His. Maintaining life's calendar? Mine. Disciplining Hudge and Charlotte? His (I'm awful). 2x4s and screws? Watch out.

So with that I say thank goodness all that is left in the workroom is moving the utility tub and dryer. No studs involved, except for Matt, of course.

3.30.2010

Made It Monday: Simplicity 2728

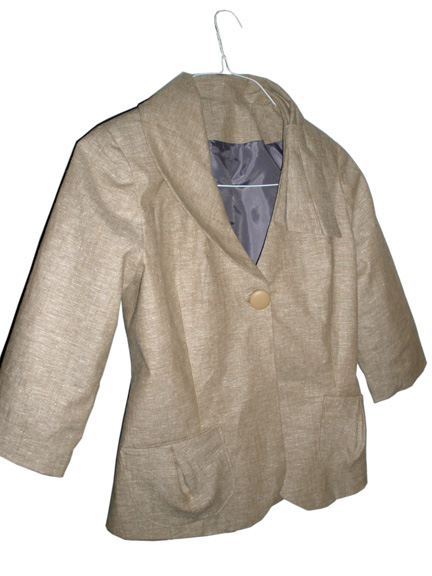
Sound the alarms. I started, finished, and am wearing a garment. It ain't perfect (um, two button holes for one button because I put the first button hole on the wrong side - who does that?) but it'll do.

In an effort to provide images of what things look like on the body, I braved 40 degree temps and utter embarrassment. You're welcome.

This shot was captured at 7:04am and I surely entertained my neighbors as I ran back and forth between camera and brick wall. No need to tell me I shouldn't quit my day job to become a model; I've got miles to go on striking a pose.

Outfit consists of some sort of weathered black jean-ish trousers from TJMaxx, white tank from Old Navy, gray ballet kitten heels, pearls (standard), and Simplicity 2728. I kinda dig this "study in neutrals" I've got going on. Sure, it's casual as compared to my normal work wardrobe but I like the feeling of warmer weather that it suggests.


Now to the question and answer session.

Pattern Description and Sizing:

Project Runway jacket with sleeve and collar variations. Regular sizing schedule and I made a 10. I normally make either 8s or 10s in Simplicity so I'd say the measurements were accurate and there's not too much ease to mess things up. I made absolutely no alterations to the fit.

Fabric Used:

A linen chambray from Hancock. It's a good neutral color and the thread named "nutmeg" is a perfect match, so it runs on the warm/pink side of browns.
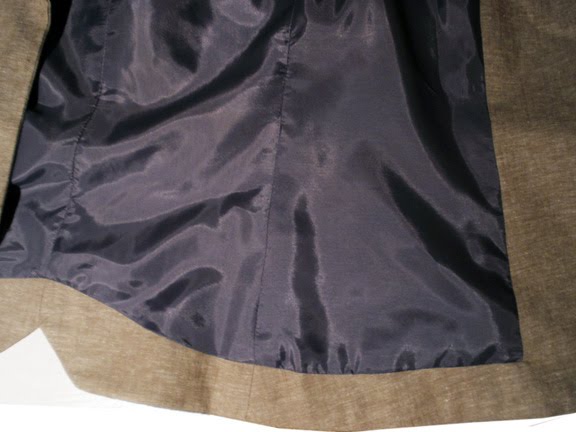
The lining is a lilac poly found in my stash. I love using up stuff that has been sitting on the shelves.


Did it look like the photo/drawing on the pattern envelope once you were done sewing it?

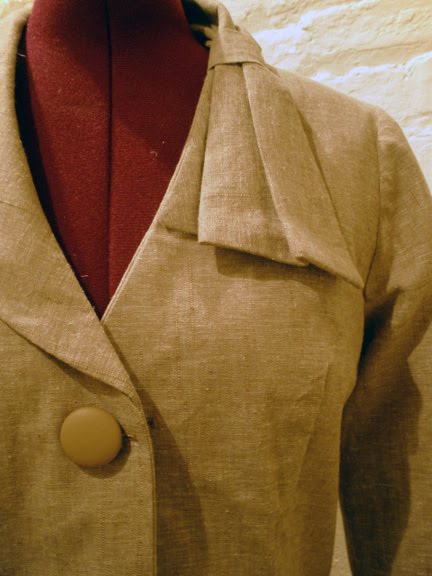
Generally, yes. The envelope doesn't show the particular combination I chose (bow collar, 3/4 sleeves with no extra adornment, pleated pockets, no back buttons) but you get the gist.

Were the instructions easy to follow? What did you particularly like/dislike about the pattern?

Uber easy. In fact, they're probably unnecessary. Though totally unusual for me, I actually liked constructing this jacket more than wearing the finished product. The pattern is very well drafted and the pieces come together in a very logical fashion. I also really liked the continuous facing on the inside of the jacket. The result is a neat and tidy marriage between lining and fashion fabric, crisp inside corners and all.


If I had to pick one thing I don't like about the jacket it would be the proportions of the collar. I can't quite explain it but now that I'm wearing the jacket, the bow feels a little off. Like it's too small, starts too high, ends too short, I don't know. It just seems a bit out of whack.


Pattern alterations:

Since this pattern package comes with so many "designer additions," as the PR series calls them, I can proudly say I restrained myself and made this little item straight off the paper. Oh, but I did tack down the outside edge of the bow to keep things in place and that was not suggested anywhere in the pattern.

Would you sew it again? Recommend to others?

Pleased with the overall fit and in love with the construction process, I will likely sew this up again with a different collar and sleeve style. There's something subtly feminine about this jacket so it's a nice addition to the otherwise suit-heavy work wardrobe. It's a perfect jacket for those looking to make something a little more interesting than most of the stuff that's in the "easy" category.

Conclusion?

I give it a 4/5. It's wearable, washable, and most importantly, a finished item. The hardest part of getting back into anything is starting up, right?

3.29.2010

Interrupting Our Regularly Scheduled Programming

Because our dogs are like children to us, I'm holding off on a regular Made It Monday post so that I may properly celebrate March 29th. A finished jacket! post will come tomorrow.


Today is Hudgins' 7th birthday.


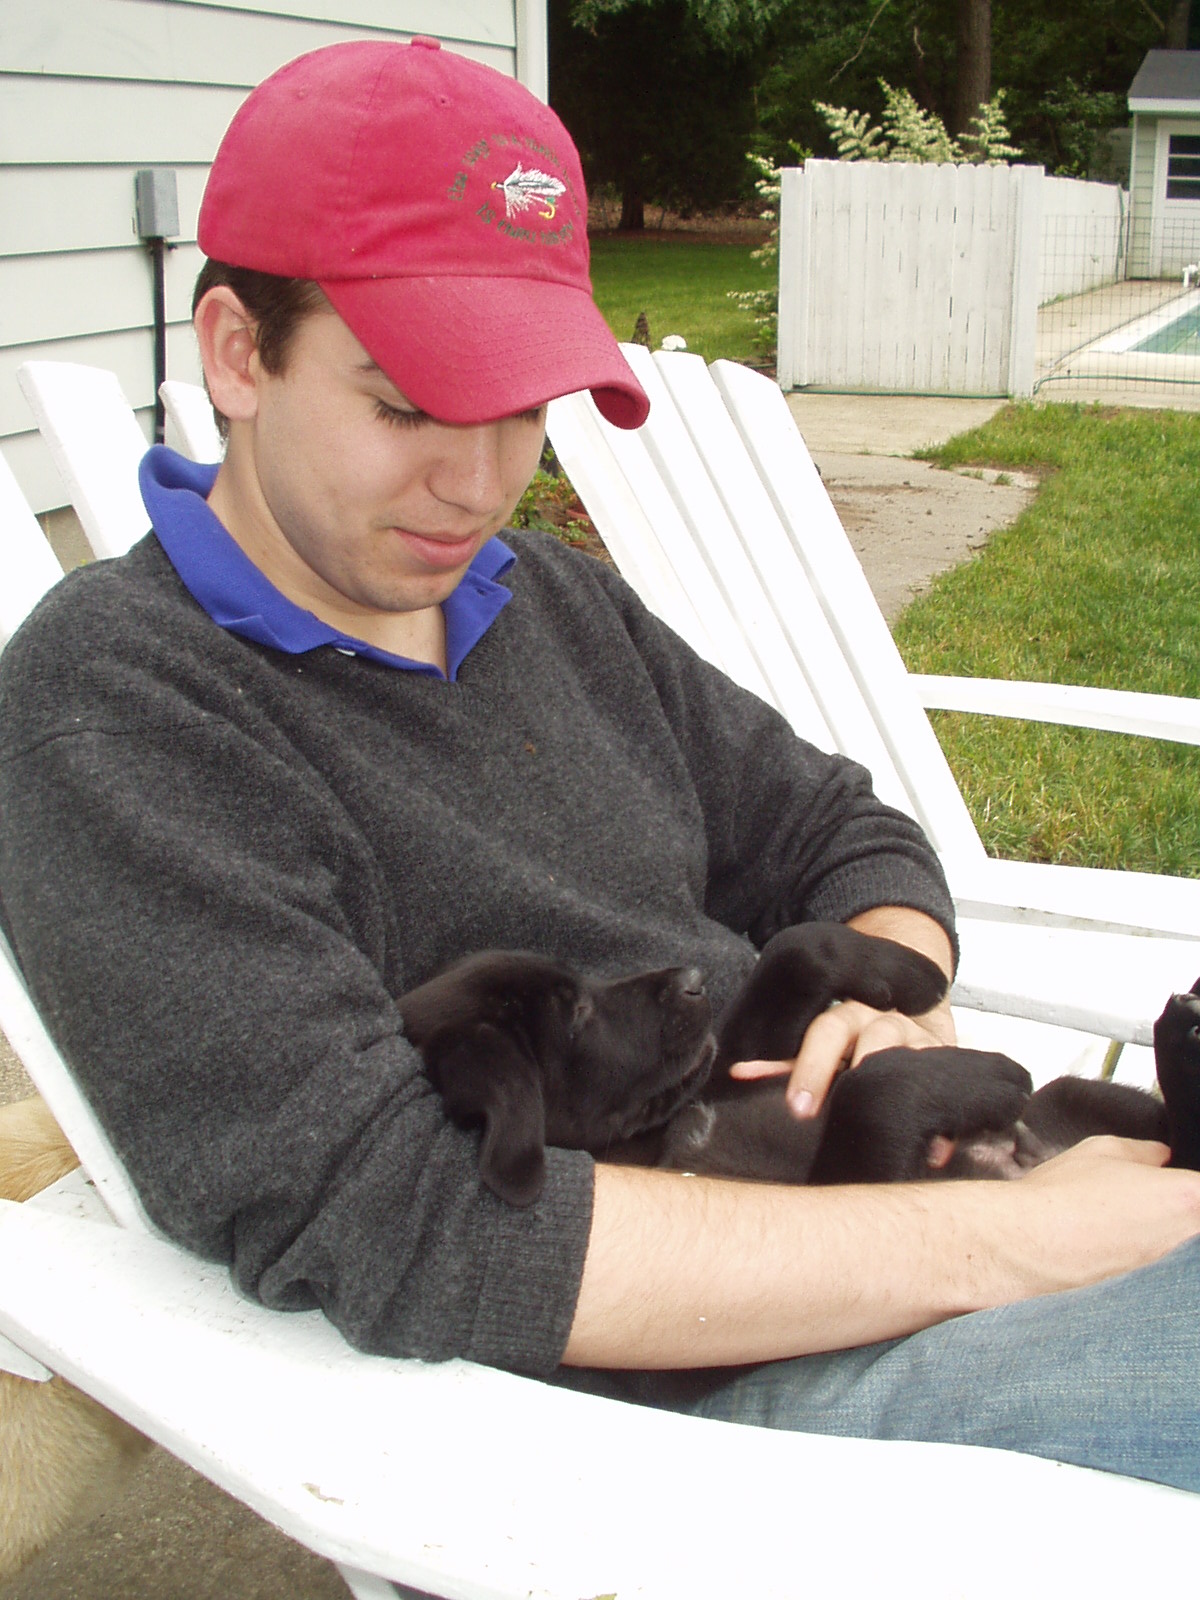
Looking at him in the picture below makes me feel old. Matt probably feels the same way. Funny side note - I swear Matt was wearing that exact outfit last night. We tend to call this look "the uniform."

Not much has changed there, I guess. But other things sure have - check out my short hair! Keep the snickering to a minimum, please. This shot was taken the day of Matt's graduation from UVa (Hudgins was my graduation present to him) and the humidity sat at 95% the whole freakin' weekend. My hair and humidity have never been pals.

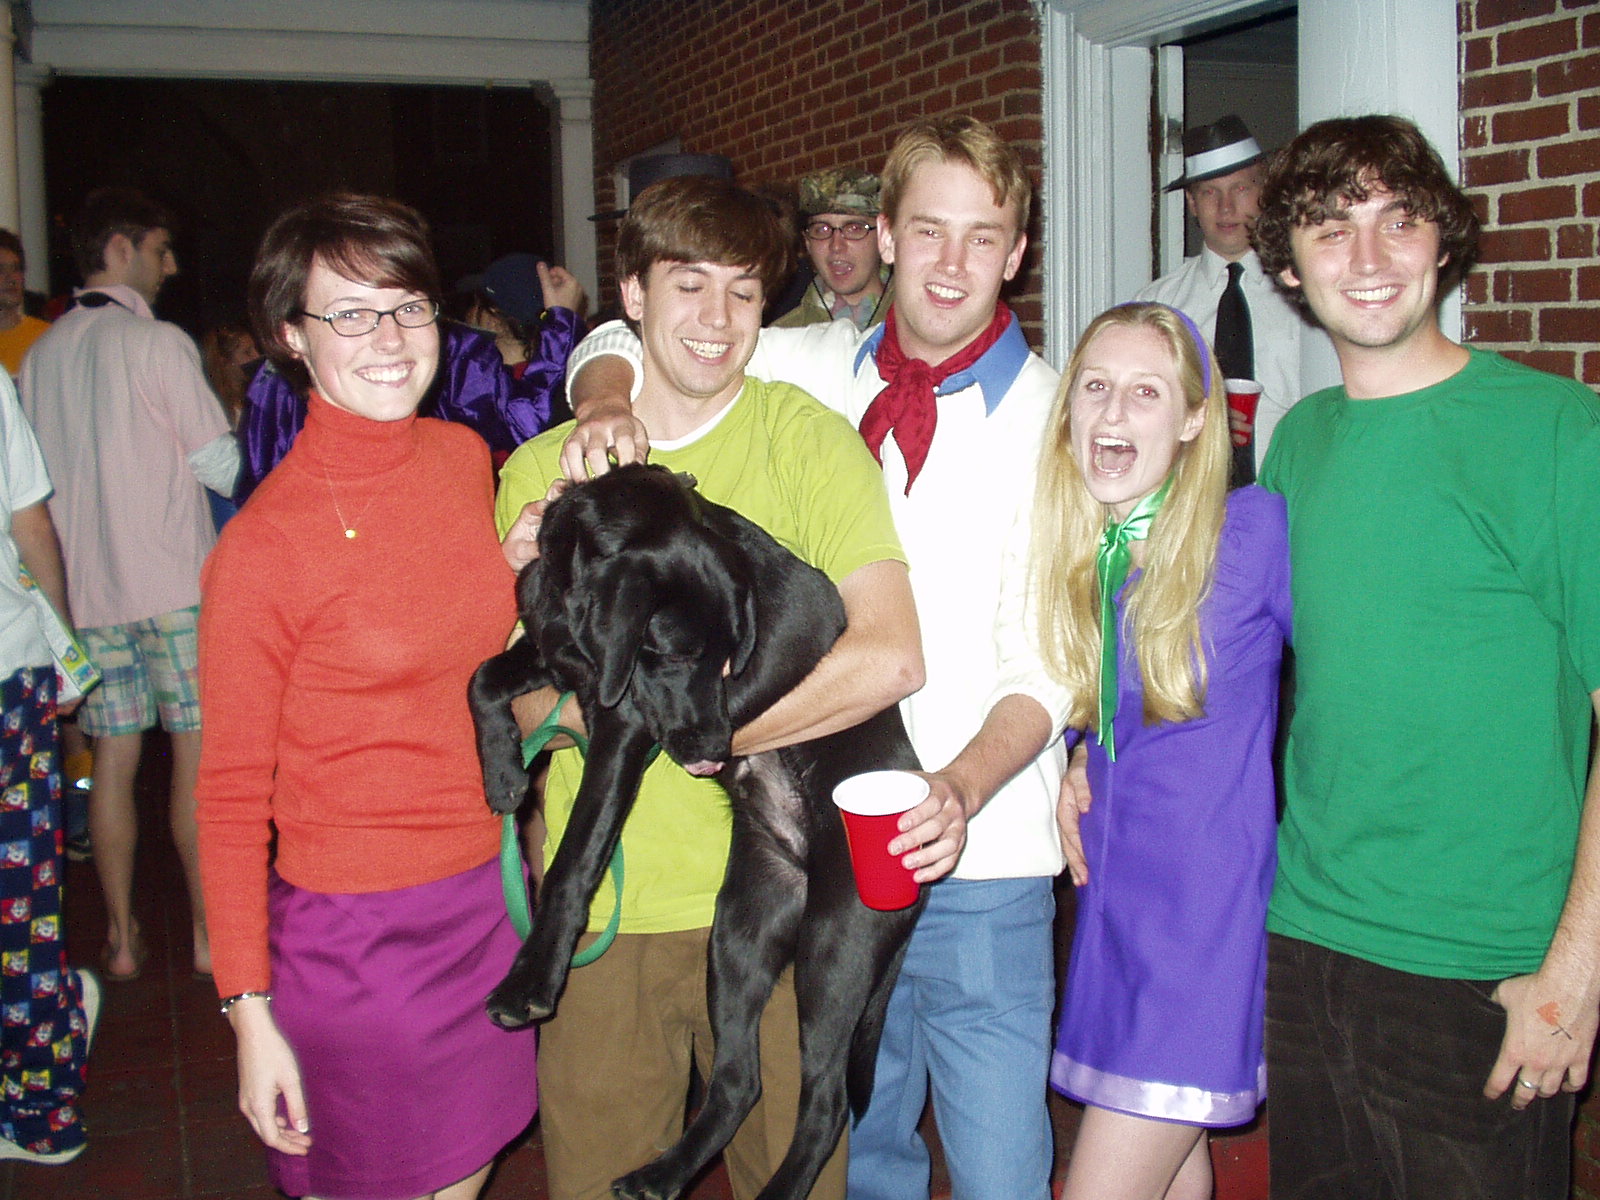
Over the years we've been sure to include (torment?) Hudgins in all the fun. This was pretty easy in college. I put the short 'do to use one year when I dressed up as Velma from Scooby Doo, Matt was Shaggy, and Hudge was Scooby, natch. We happened to run into a Daphne and Fred so the clan was all represented.


Following his master's lead, Hudgins ended up on the fraternity's beer pong table later in the evening.

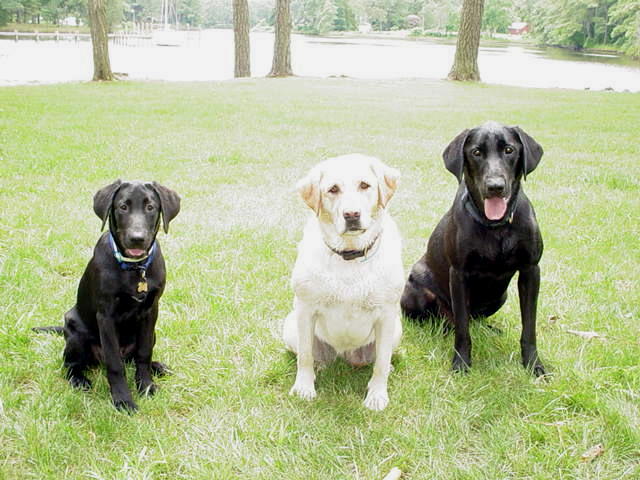
We've also ditched him with our respective parents plenty of times (thanks y'all!) but we think of this as "going to camp." Here Hudgins is hanging out with Matt's parents' dogs, Bo and Daisy. He looked like such a little guy then.

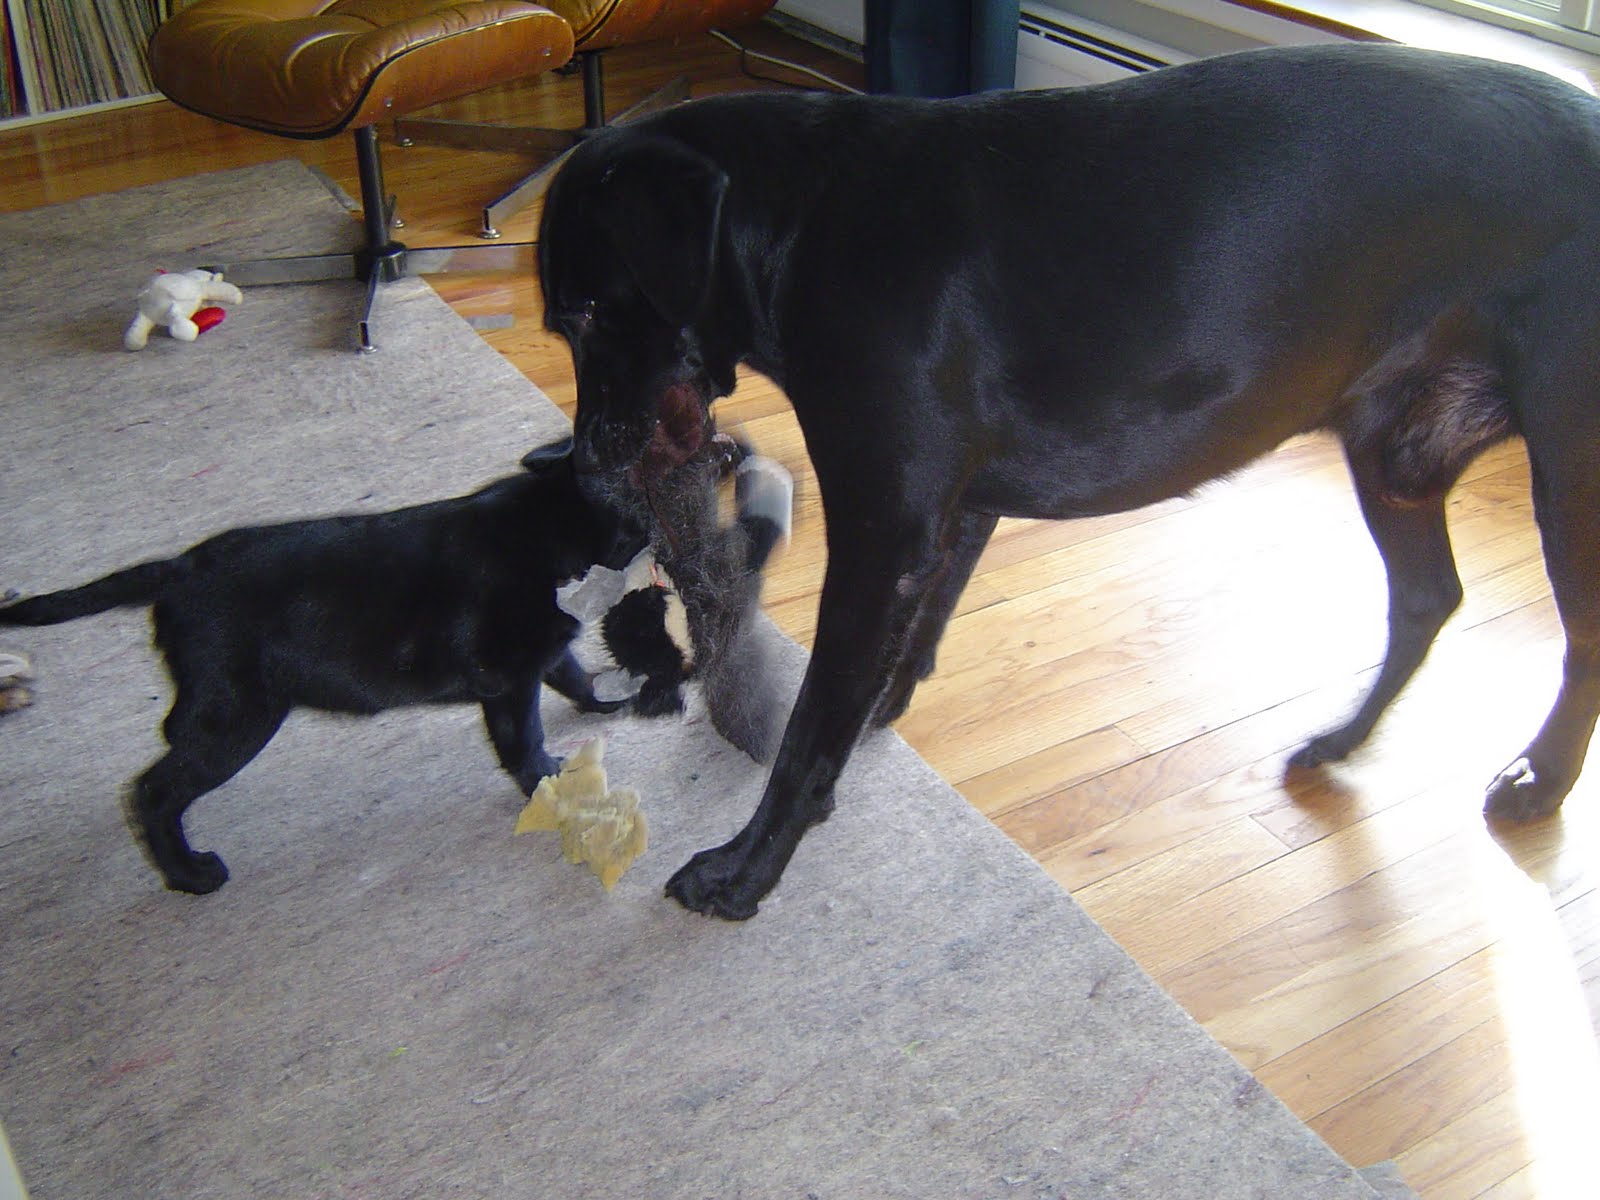
Just as Hudgins (aka Hootie Bootie, a moniker given by Matt's sister) settled in to being the calm dog of the house, we decided to shake things up a bit and bring home Charlotte.

They're good buddies most of the time, he wants to give her a good smack some of the time, and she loves him all of the time.

So Happy Birthday to Hootie Bootie. You'll always be our favorite little redneck dog.

3.22.2010

Made It Monday: Bowties

Welcome to the work week! Hopefully everyone had enjoyable weekends. As expected, the weather here was pure ugliness on Saturday. This did make for good basketball watching (holy Northern Iowa/Kansas game!) and even better sewing.

I think I may have mentioned that Matt recently transitioned over to bowties as his office accessory of choice, forgoing the more traditional neck tie. It turns out that this worked well on my end because I've now learned that making bowties is way easier than making neck ties. Using this pattern as a template for shape only I went to work figuring out how these things come together. The muslin was successful enough that I bit the bullet and cut into some prized silk. Hello Monday morning! Nothing like direct to consumer distribution.


There is a pile of silk remnants on my dining table right now because I ran out of the hardware necessary to make the bowties adjustable. Fortunately I was able to muster up three sets and thus churned out some others.

I may or may not have had a little too much fun merchandising the ties for picture-taking this morning.

What say you? Should I quit my day job and buddy up to Brooks Brothers? :)

Related Posts with Thumbnails